How Many Nails Per Shingle? A Guide for Wilsonville, Oregon Homeowners
For homeowners in Wilsonville, Oregon, understanding the fundamentals of roof installation is key to ensuring the longevity and performance of their home's protective layer. While seemingly minor, the question of how many nails should be used per shingle is actually critical to a roof's ability to withstand the elements, particularly wind. Proper fastening is not just about attaching the shingle; it's about creating a robust system that protects your home for decades. Getting this detail right during installation is paramount.
The Foundation of Roof Integrity: Why Nailing Matters
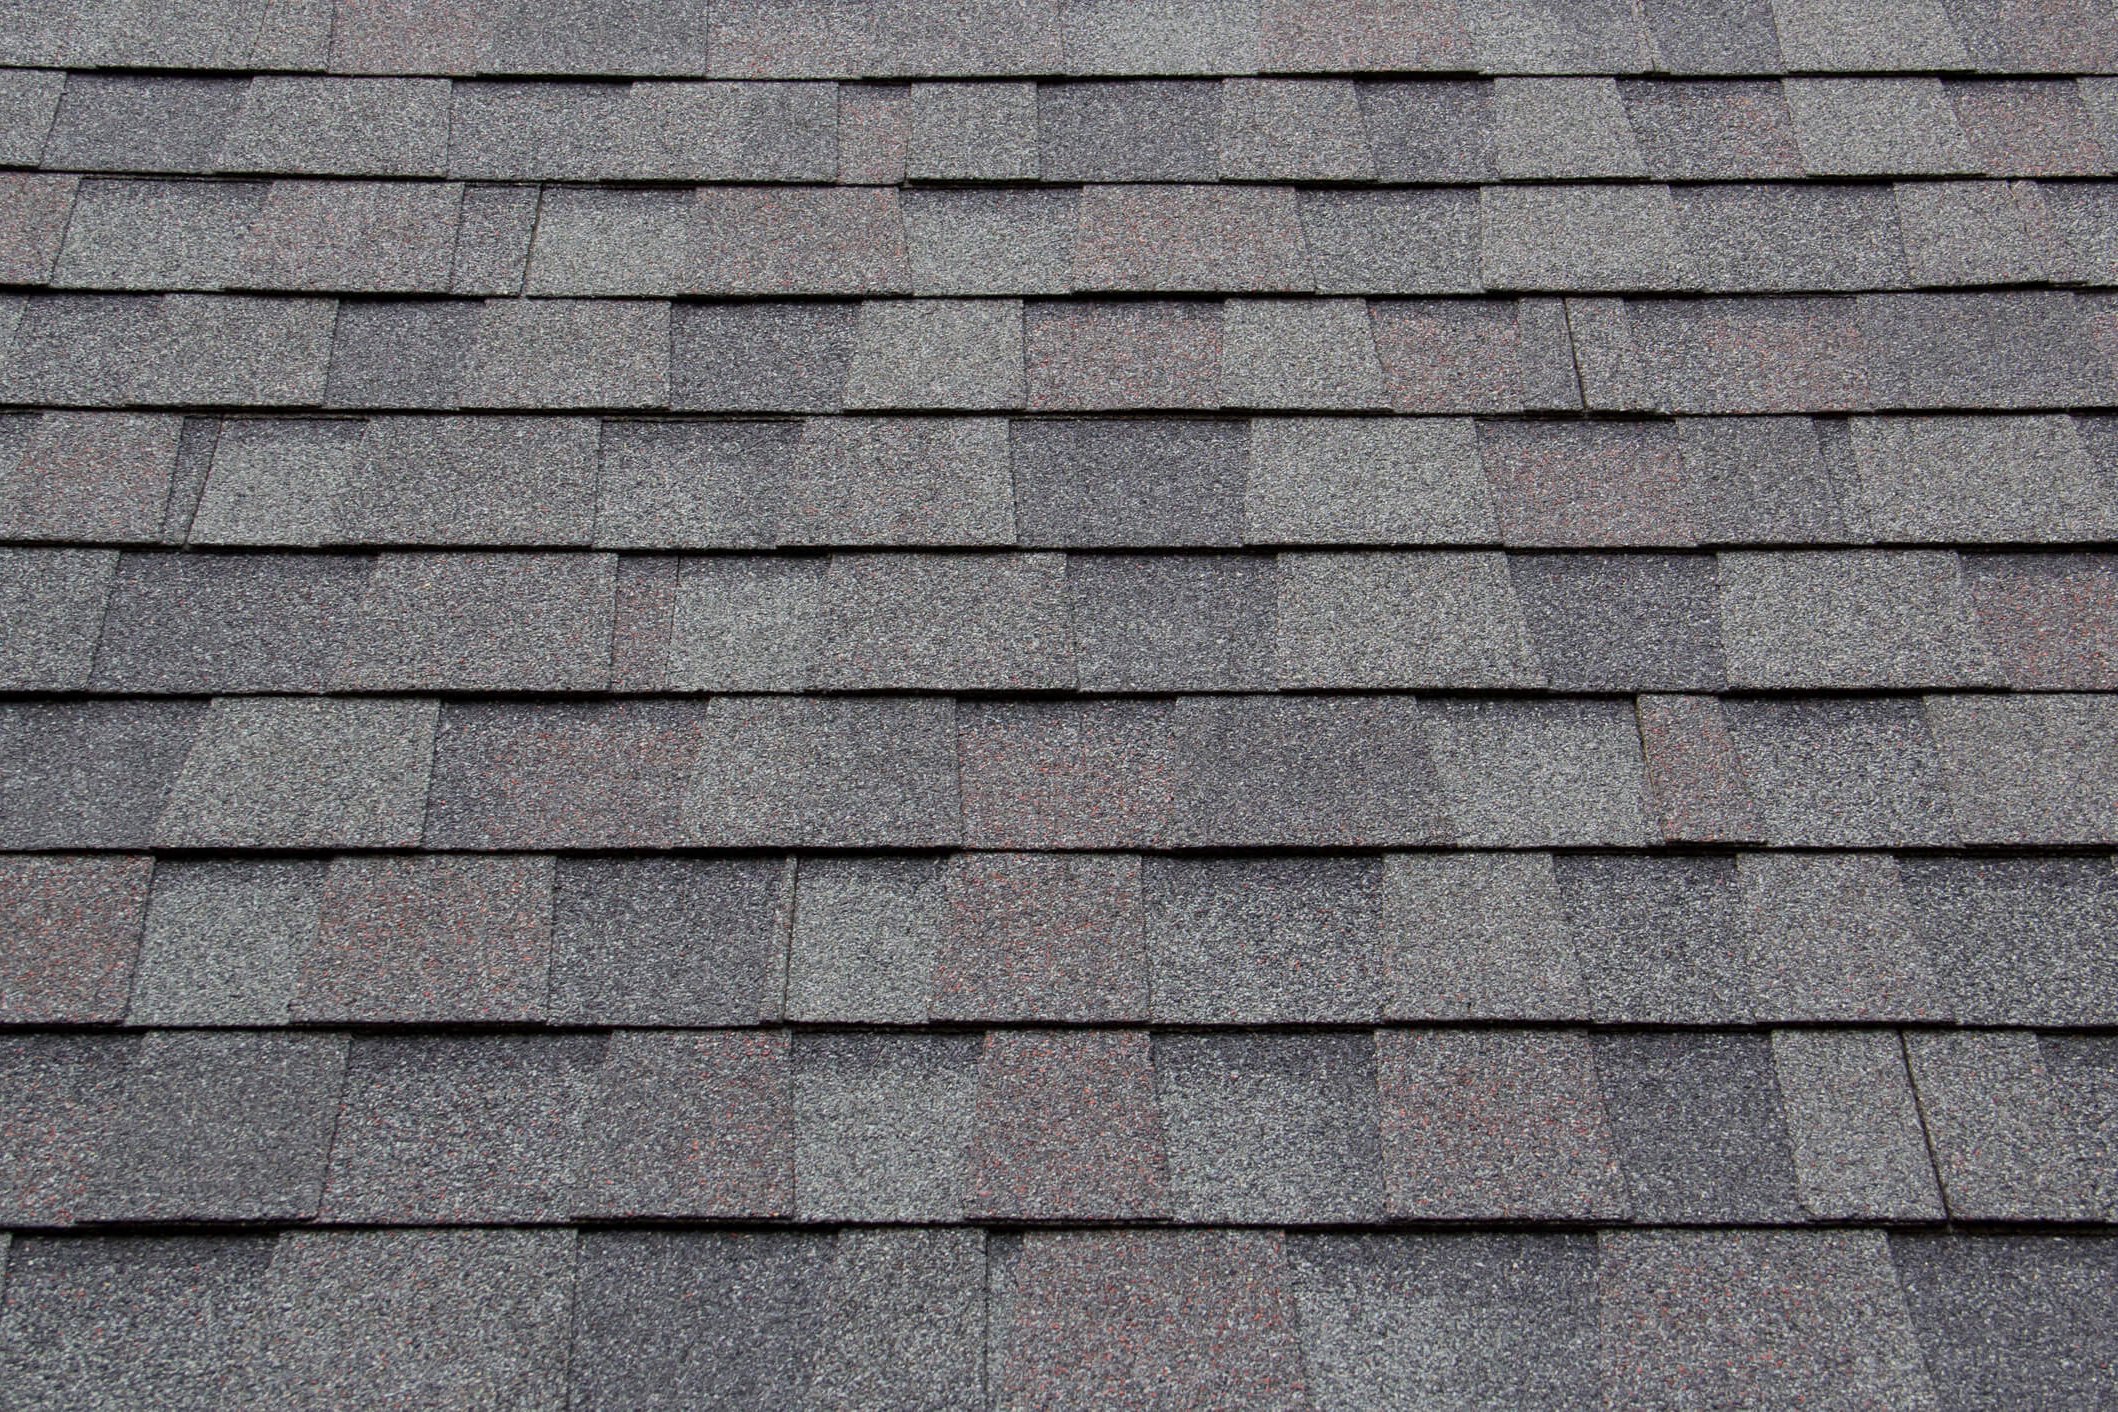
The roof is your home's primary defense against rain, snow, sun, and especially wind. Asphalt shingles, the most common roofing material, rely entirely on proper fastening to stay in place and perform their function. Without the correct number of nails, placed in the right locations and driven to the correct depth, shingles can become vulnerable.
Imagine a strong gust of wind sweeping across your roof. This wind creates both positive pressure on the windward side, pushing down, and negative pressure (lift) on the leeward side, pulling up. It's this negative pressure, similar to the force that lifts an airplane wing, that tries to peel shingles off the roof deck. The nails are the primary anchors resisting this uplift force. If there aren't enough nails, or if they aren't properly installed, the shingle's bond to the roof deck is weakened, making it susceptible to being lifted, creased, or even blown off entirely.
Beyond wind resistance, proper nailing contributes to the overall lifespan of the shingle and the roof system. Correctly fastened shingles lie flat, shed water effectively, and allow subsequent shingle courses to overlap and seal correctly. Improper nailing can lead to buckling, cracking, and premature aging of the shingles, compromising the entire roof's weatherproofing capabilities.
Standard Practice: 4 vs 6 Nails Per Shingle
The most common debate regarding shingle fastening revolves around using four nails versus six nails per standard asphalt shingle. While local building codes often specify the minimum requirement, manufacturer recommendations and best practices frequently lean towards increased fastening for enhanced performance.
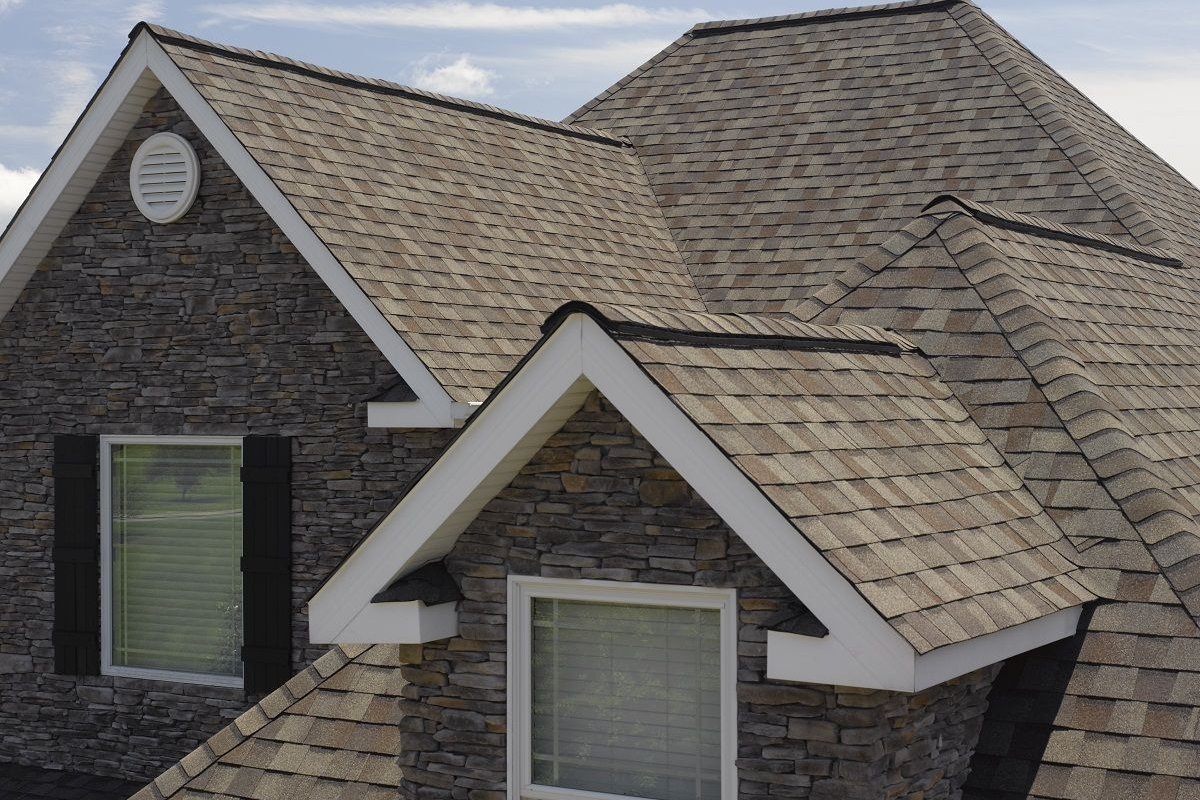
Historically, four nails per shingle was the standard in many areas, particularly those not considered high-wind zones. This pattern typically involves placing one nail in each corner of the shingle above the cutouts and below the sealant strip. For 3-tab shingles, this means placing nails roughly where each "tab" meets the upper part of the shingle. For architectural (laminate) shingles, placement is typically specified by the manufacturer in the common bond area.
However, roofing technology and our understanding of wind dynamics have evolved. The six-nail method has become increasingly recommended, especially by shingle manufacturers and in areas subject to moderate to high winds. This method adds two extra nails, typically spaced evenly between the original four. For a standard 3-tab shingle, this might mean placing nails approximately 12 inches apart across the shingle's width. For architectural shingles, the manufacturer's nailing zone will indicate the acceptable area for these extra nails.
Why the push for six nails? The answer is simple: increased holding power. More nails distribute the uplift forces over a larger area of the shingle and the roof deck, significantly increasing the shingle's resistance to being pulled off by wind. In severe weather events, this extra fastening can be the difference between minor damage and widespread shingle loss, potentially saving homeowners significant repair costs.
While four nails might meet the minimum code requirement in some areas, using six nails is widely considered a superior installation practice that provides a higher level of security and durability. Many manufacturers now require six nails per shingle, or even more in specific high-wind applications, to validate their product warranties.
Factors Influencing the Required Nail Count
Determining the exact number of nails required for a shingle installation isn't a one-size-fits-all answer. Several critical factors dictate whether four, six, or even more nails are necessary:
- Local Building Codes: This is the absolute minimum standard you must meet. Building codes are developed based on regional climate patterns, including prevalent wind speeds. Areas designated as high-wind zones will have stricter fastening requirements, often mandating six nails per shingle or specific nailing patterns and nail types. Always consult the current building codes applicable to your specific location.
- Shingle Manufacturer Specifications: This is paramount. Always follow the shingle manufacturer's installation instructions. These instructions are developed based on extensive testing of the shingle's performance characteristics. Manufacturers know precisely how their shingles need to be fastened to achieve the tested wind resistance ratings and to qualify for warranty coverage. If a manufacturer specifies six nails, using only four will likely void your warranty.
- Wind Zones: The wind zone classification of your geographic area is a major determinant of fastening requirements. Coastal regions, areas prone to hurricanes or tornadoes, and even flat, open areas with less windbreak protection typically fall under stricter wind codes. Roofing codes like those based on ASCE 7 standards define different wind speed zones, each with corresponding requirements for roofing component fastening, including the number of nails per shingle. Given Oregon's varied climate, understanding the specific wind zone for a property outside of Wilsonville is crucial.
- Roof Pitch: The slope of your roof can also influence wind effects. While the primary nailing requirement is usually based on wind speed, extremely low-slope roofs (below 4:12 pitch) or very steep roofs might have slightly different considerations depending on the specific shingle type and local code interpretations.
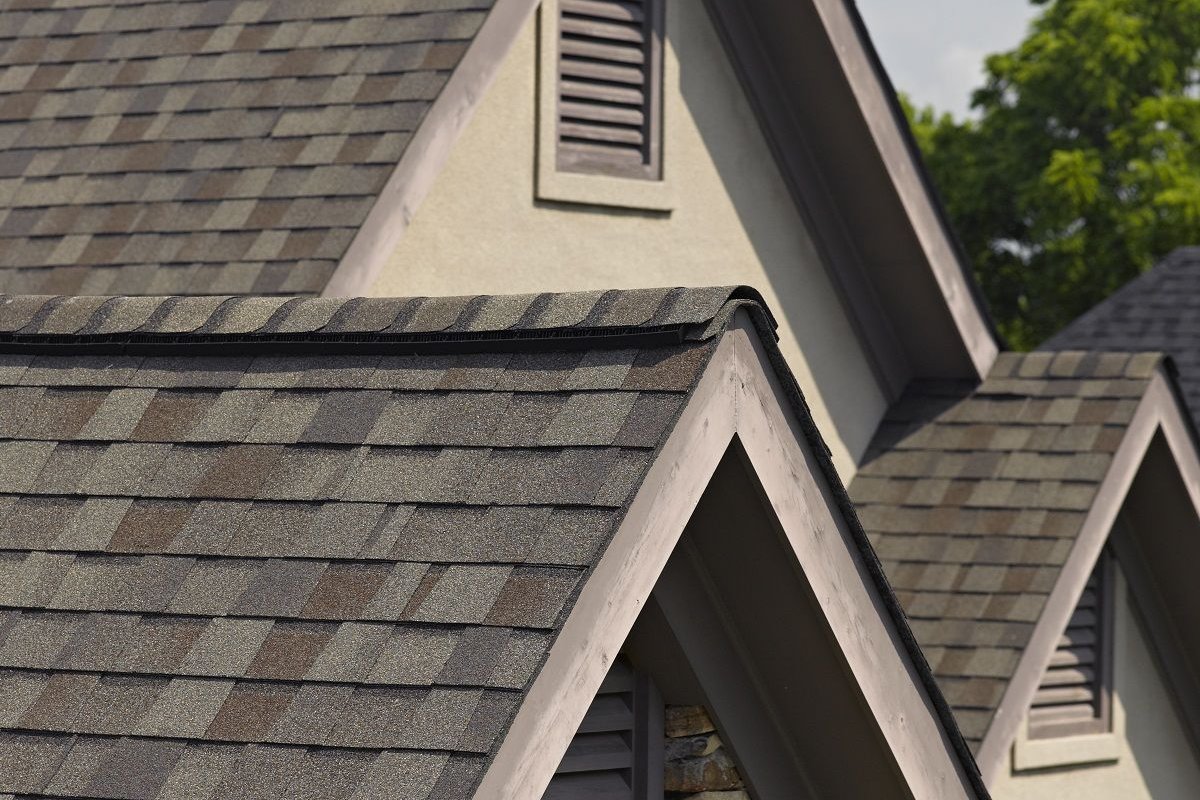
- Shingle Type: The type of asphalt shingle matters. Standard 3-tab shingles, with their uniform shape, have straightforward nailing patterns. Architectural (laminate) shingles, being thicker and having a more varied profile, have a specific "nailing zone" indicated by the manufacturer. This zone is where the nails must be placed to properly secure the shingle and ensure the overlap from the course above effectively seals it. The manufacturer's instructions will specify the number of nails within this zone.
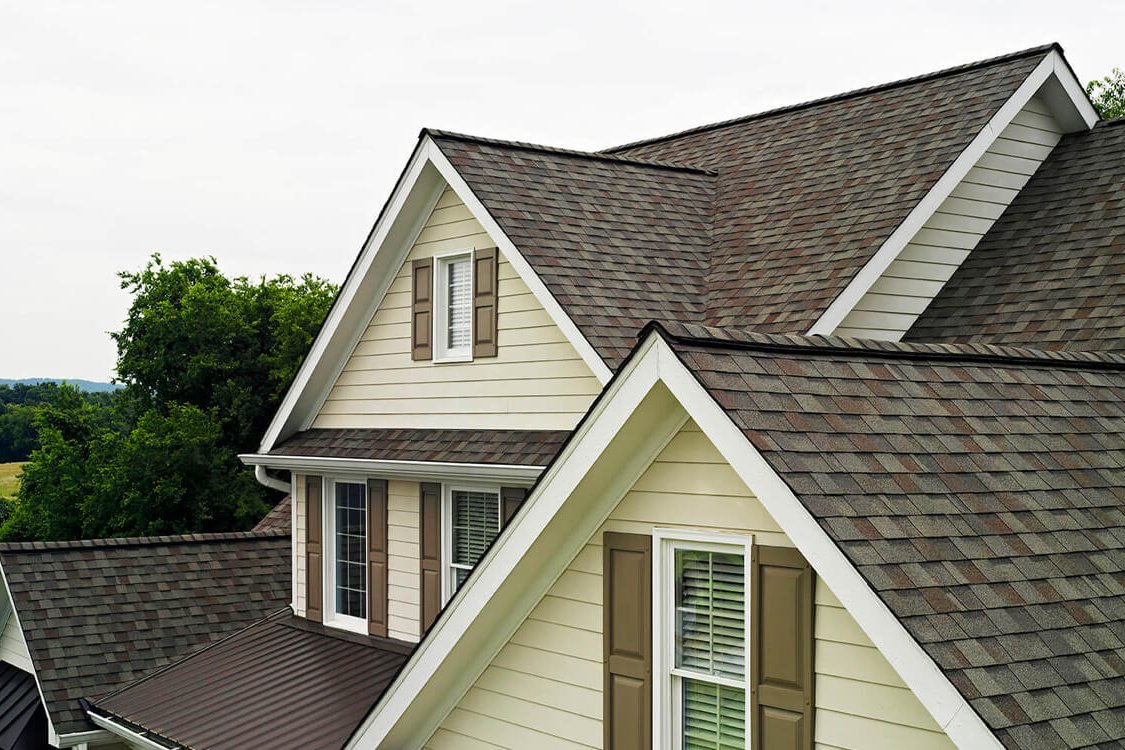
- Eaves and Rakes: Areas along the eaves (the horizontal edges at the bottom) and rakes (the sloped edges along the gables) of the roof are subject to higher wind uplift forces, especially at corners. Building codes and manufacturer specifications often require additional fasteners along these edges, regardless of the standard field nailing pattern. This might mean spacing nails closer together or adding an extra row of nails along the perimeter shingles.
Understanding and adhering to the combination of local codes, manufacturer specifications, and the specific conditions of the roof (pitch, location within a wind zone) is essential for a durable and code-compliant installation.
Proper Nailing Technique: More Than Just the Count
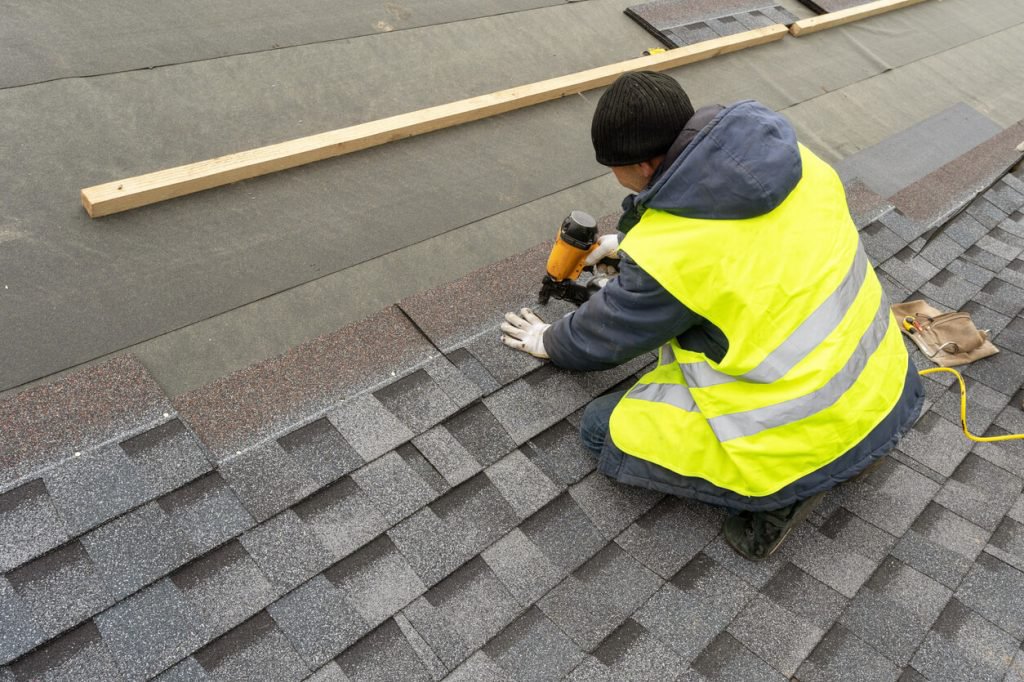
Simply having the right number of nails isn't enough; how the nails are installed is equally, if not more, important. Incorrect nailing technique can render even six nails ineffective and potentially damage the shingles or roof deck. Key aspects of proper nailing include:
- Nail Type: Roofing nails should be specifically designed for asphalt shingles. They typically have a wide head (at least 3/8 inch) to provide sufficient surface area to hold the shingle down without pulling through. The shank can be smooth or ring-shank. Ring-shank nails offer superior withdrawal resistance, meaning they are much harder to pull out of the roof deck, making them the preferred choice for enhanced wind resistance. Nail length must be sufficient to penetrate the shingle and pass through the roof deck sheathing by at least 3/4 inch, or completely through the sheathing if it's less than 3/4 inch thick (like 1/2 inch or 5/8 inch plywood or OSB).
- Nail Placement: This is critical and varies slightly depending on the shingle type (3-tab vs. architectural) and the number of nails being used (4 vs. 6).
- For 3-tab shingles: Nails should be placed just above the cutout slits and below the sealant strip. Incorrect placement too high can result in the nails being exposed on the course above (called "high nailing" or "shiners"), leading to leaks. Placement too low can prevent the sealant strip from properly adhering to the shingle above.
- For Architectural shingles: Manufacturers provide a specific nailing zone, usually a horizontal band across the shingle. All nails must be placed within this zone. Placing nails outside this zone can lead to the shingle not being properly secured or the subsequent course not sealing correctly.
- General Placement: Nails should be perpendicular to the shingle surface and driven straight. Avoid angled nails.
- Nail Depth (Setting): Nails should be driven flush with the shingle surface, not countersunk (too deep) and not standing proud (too shallow).
- Countersinking ("Blow-through"): Driving the nail too deep breaks the shingle's surface granules and can cut into the fiberglass mat, significantly weakening the shingle at the fastening point. This compromises its holding power and weather resistance. If using a nail gun, this often means the air pressure is set too high.
- Standing Proud ("High Nailing" or "Shiners"): If the nail head is not flush with the shingle surface, the shingle above will rest on the nail head, creating a bump. This prevents the shingles from lying flat and sealing properly, creating potential water channels and areas vulnerable to wind damage. These nails can also eventually wear through the underside of the shingle above. If using a nail gun, this often means the air pressure is too low.
- Using a Nail Gun: While hand-nailing is possible, pneumatic roofing nail guns are standard for efficiency. However, they require proper calibration. The air pressure must be adjusted to consistently drive nails to the correct depth without countersinking or leaving them proud. The worker must also hold the gun perpendicular to the roof surface.
Important Tip: Proper nail placement and depth are just as crucial as using the correct number of nails. Even six nails won't secure a shingle if they are driven incorrectly.
Consequences of Improper Nailing
Ignoring proper nailing standards, whether by using too few nails or employing poor technique, can lead to a host of problems that compromise your roof's performance and lifespan:
- Shingle Blow-Off: This is the most immediate and visible consequence, especially during high winds. Shingles that are inadequately fastened simply do not have the holding power to resist wind uplift. Missing shingles expose the underlayment and roof deck to water, leading to leaks and potentially significant structural damage.
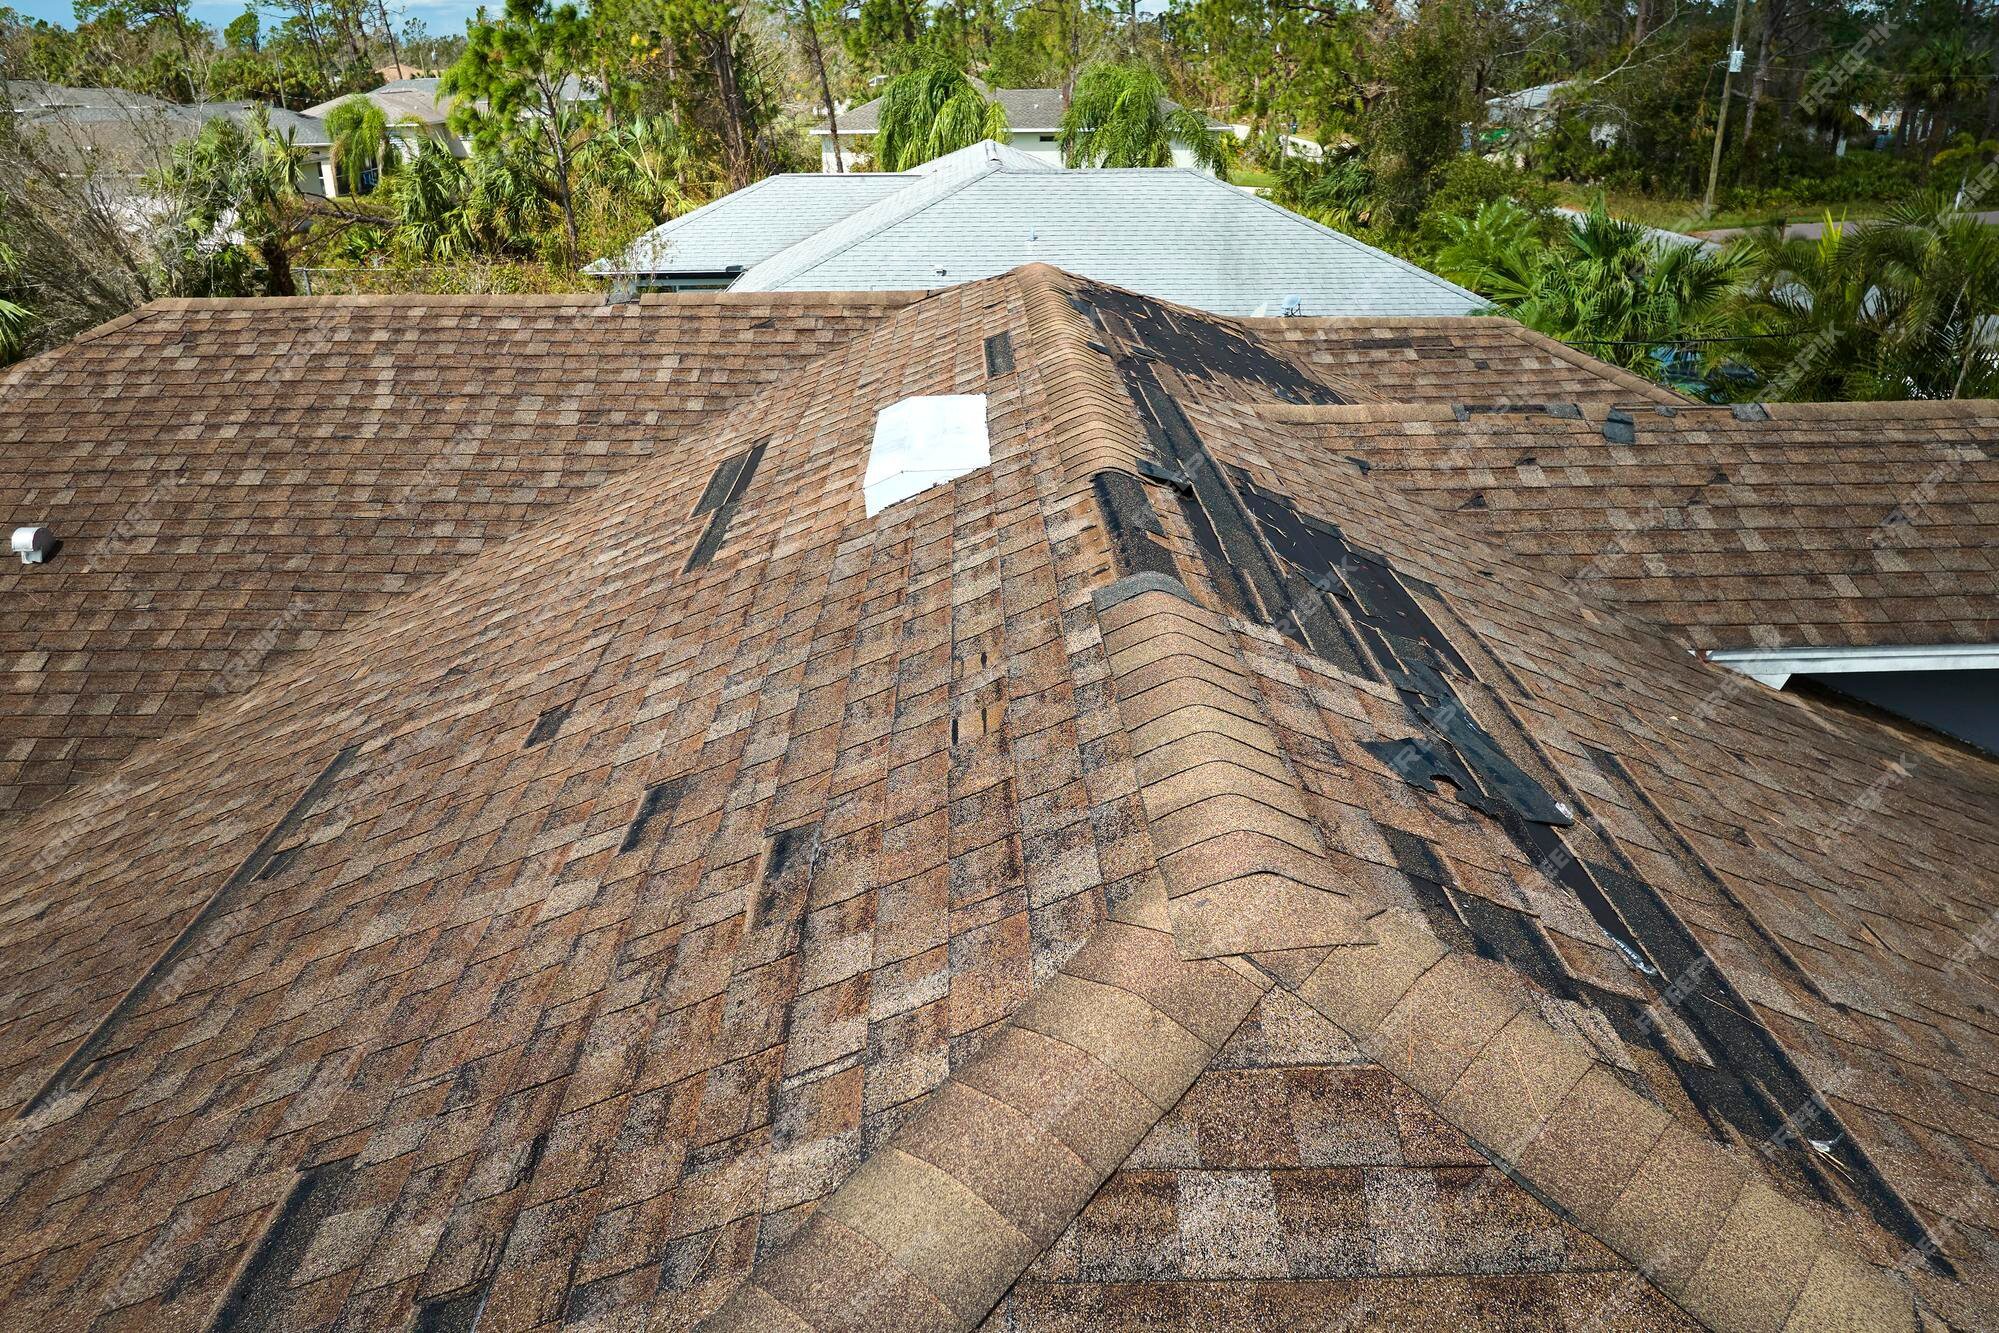
- Leaks: Improper nail placement (like high nailing) or countersunk nails can create pathways for water to penetrate the shingle layers, underlayment, and eventually the roof deck. Leaks can cause rot in the sheathing and framing, damage interior ceilings and walls, and lead to mold growth.
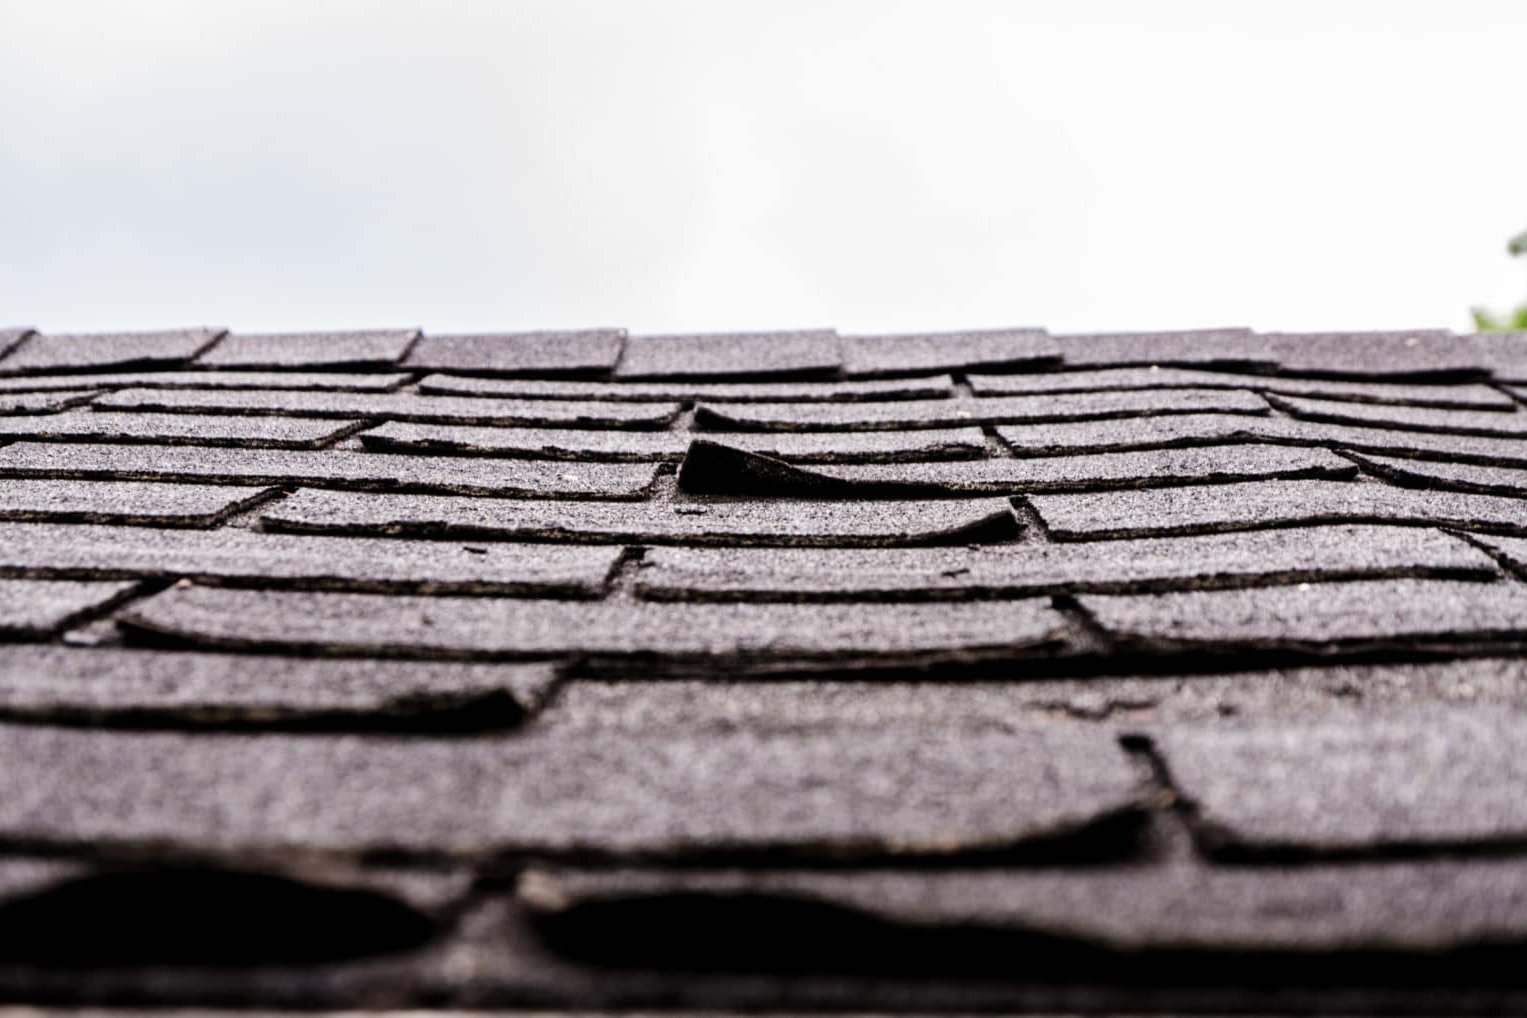
- Buckling and Curling: Shingles that are not fastened correctly or consistently can buckle or curl over time as they expand and contract with temperature changes. This breaks the sealant bond between shingles, reduces wind resistance, and accelerates shingle deterioration.
- Voided Manufacturer Warranty: As mentioned, shingle manufacturers require specific installation procedures, including nail count and placement, to validate their product warranty. If your roof fails prematurely due to improper nailing, the manufacturer may deny your warranty claim, leaving you responsible for the full cost of repairs or replacement.
- Reduced Lifespan: A roof installed with improper nailing techniques will simply not last as long as a properly installed one. The cumulative effects of wind stress, water infiltration, and premature shingle deterioration will significantly shorten the roof's functional life, leading to earlier and more frequent repairs, and ultimately, a premature replacement.
Warning: Improperly installed roofs can be a significant liability and may not pass inspection. Always ensure your roofing contractor is following manufacturer specifications and local codes.
When to Seek Professional Help
Understanding the details of shingle nailing provides valuable insight into roof quality, but inspecting your own roof for proper fastening is often impractical and potentially dangerous. Recognizing the signs of potential issues and knowing when to call in a professional is crucial for maintaining a healthy roof.
You should consider seeking professional help if you notice:
- Missing or loose shingles after a storm.
- Signs of leaks inside your home (water stains on ceilings or walls).
- Visible buckling or curling of shingles.
- Excessive granule loss in your gutters (a sign of aging, but can be exacerbated by poor installation).
- If your roof is approaching the end of its expected lifespan (typically 20-25 years for asphalt shingles).
For non-urgent situations, such as planning for a future roof replacement, budgeting for upcoming home improvements, or simply wanting a general understanding of your roof's condition without immediate concerns, getting an estimate can be a great first step.
If you're planning a future project or need to budget, you can get an instant, accurate estimate for your roof replacement using satellite imagery and local pricing data.
Get your free instant roof estimate
For urgent situations like active leaks or storm damage, or any time you suspect immediate professional attention is needed, a direct inspection is necessary.
For urgent repairs or immediate concerns like active leaks or storm damage, you need a professional to assess the situation quickly. You can book a direct appointment with a pre-vetted local roofer easily.
Book a roofing appointment
SkyQuote connects you with qualified local contractors for assessments and work based on your needs, whether you're planning ahead or dealing with an emergency.
Frequently Asked Questions About Shingle Nailing
Q: Is 4 nails per shingle enough?
A: While 4 nails per shingle may meet the minimum building code in some areas, most shingle manufacturers and roofing professionals recommend using 6 nails per shingle for enhanced wind resistance and warranty coverage, especially in areas prone to moderate to high winds. Always check local codes and manufacturer specifications.
Q: Where exactly should nails be placed on a shingle?
A: Placement depends on the shingle type. For 3-tab shingles, nails go just above the cutouts and below the sealant strip. For architectural shingles, nails must be placed within the manufacturer-specified nailing zone, usually a horizontal band. Refer to the shingle packaging for precise instructions.
Q: What happens if nails are driven too deep?
A: Driving nails too deep (countersinking) can break the shingle's protective surface and damage the fiberglass mat, significantly weakening the shingle's ability to resist wind and weather. This is a common installation error that compromises the roof's integrity.
Q: What happens if nails are not driven deep enough?
A: Nails that are not driven flush with the shingle surface ("standing proud") prevent the overlying shingle from lying flat and sealing properly. This creates vulnerable spots for water entry and wind damage, and can also cause premature wear on the underside of the shingle above.
Q: Does the type of nail matter?
A: Yes, absolutely. Use roofing nails with a wide head (at least 3/8 inch). Ring-shank nails offer superior holding power compared to smooth-shank nails and are recommended for better wind resistance. Nail length must be sufficient to penetrate the roof deck adequately.
Q: Can improper nailing void my shingle warranty?
A: Yes. Shingle manufacturers specify exact installation requirements, including the number and placement of nails, to validate their product warranties. Failure to follow these instructions constitutes improper installation and can lead to your warranty being voided.
Q: Do I need more nails on the edges of the roof?
A: Yes. Perimeter shingles along eaves and rakes are subject to higher wind uplift forces. Building codes and manufacturer specifications often require additional fasteners (more nails or closer spacing) in these areas compared to the main field of the roof.
Ensuring Your Roof's Longevity Through Quality Installation
The durability and performance of your asphalt shingle roof rely heavily on the quality of its installation, and the number and correct application of nails per shingle is a fundamental aspect of that quality. While minimum building codes provide a baseline, adhering to or exceeding manufacturer recommendations, particularly by using six nails per shingle where applicable and ensuring perfect nail placement and depth, provides superior protection against wind and weather. A properly fastened roof lies flat, seals effectively, and stands the best chance of reaching its full expected lifespan, protecting your home and your investment for years to come. Making informed choices about your roofing project, from understanding installation standards to selecting qualified professionals, is key to achieving lasting peace of mind.